
Web portal for companies
Login procedure
First login - activation
Operators can be added only from the panel. It is not possible to register in the system without an invitation. Basic administrators accounts that can be used to create a user hierarchy are provided with the panel instance.
In order to create a new portal operator account you have to log in to the panel using e-mail address, which is user login. Then go to the "Staff members" tab and fill in the required data. After filling in the role, personal data and e-mail address there will be sent a welcome message with an activation link for new account.

Once the email send process is complete, the invited operator will receive a message. It contains a welcome and an activation link - used to set a password to access Corporate Panel.
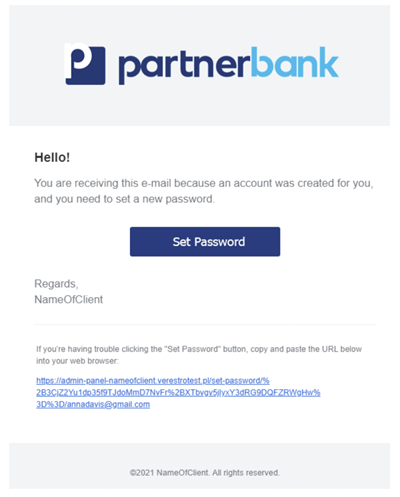
Clicking on the link redirects to the login page, where the operator will have to set a password during the first logging in. The required password standard is a minimum of 8 characters, at least one digit, one capital letter and one letter.
Login procedure
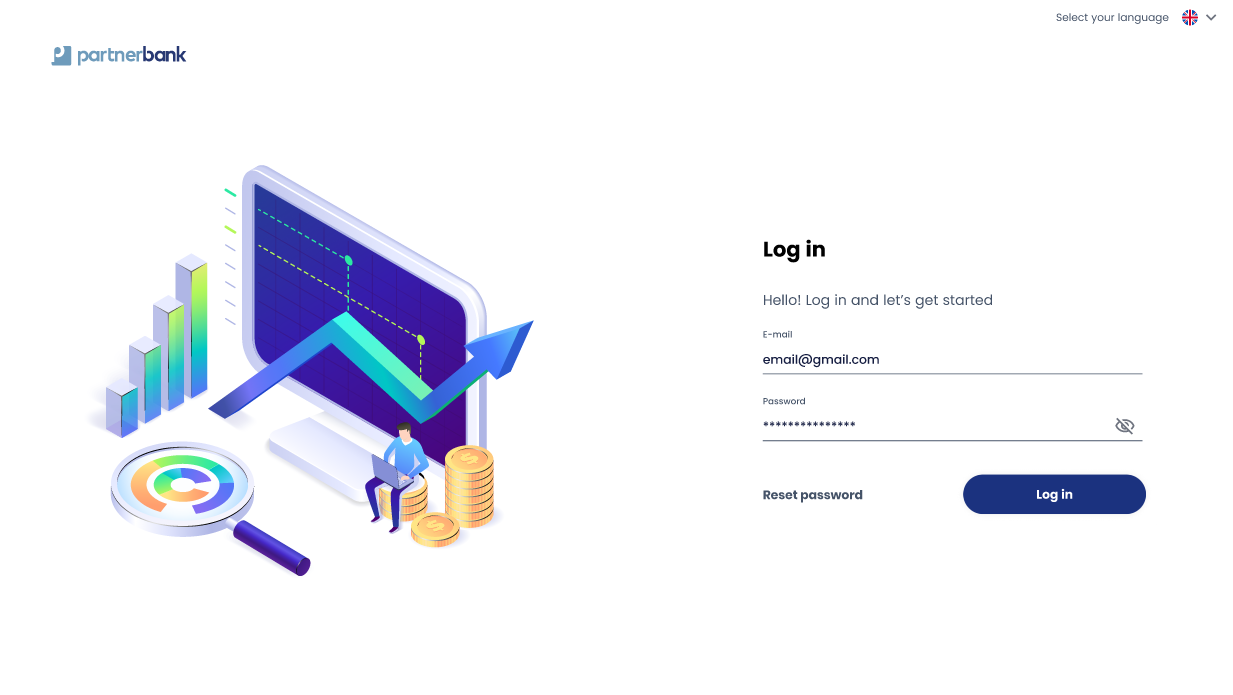
Operator must provide correct pair – e-mail and password. If the provided login is incorrect, a message informing the employee of an error “Incorrect e-mail or password” and the possibility of another attempt will be displayed.
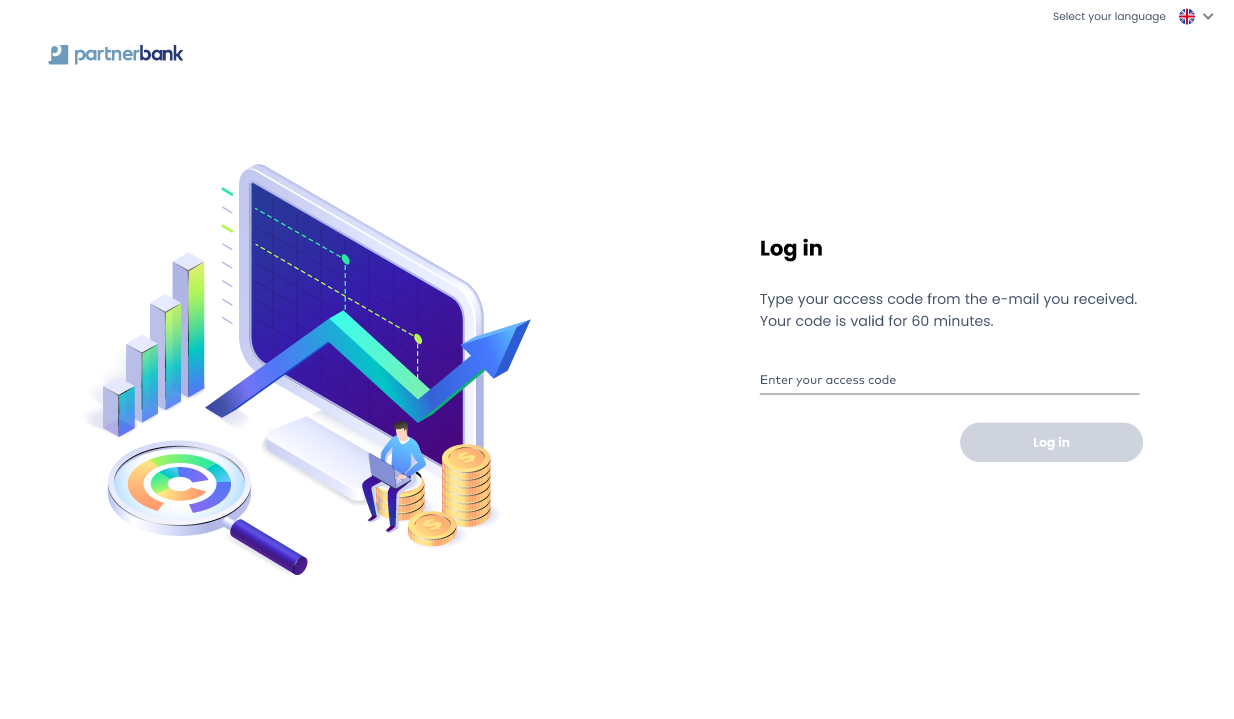
If the data provided is correct, an authentication code is sent. This is required to complete the next step of the two-step login.
As last step application asks for code. Sent code has set validity time described in previous chapter. If code will not be provided in this time, login procedure must be started from first step.
Reset password procedure
In order to reset password, admin has to open the login page and click option “reset password” (located under e-mail and password inputs). In next step, admin must provide correct e-mail address.
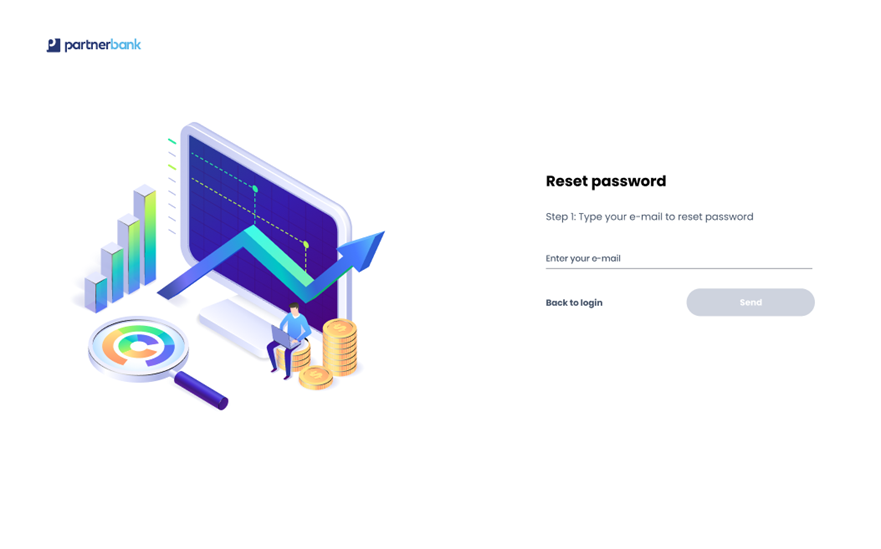
After correct completion of the form you will be redirected to the login page with a popup notification displayed on the screen. At this time the password reset mechanism is activated and a unique link is sent to the operator.

If the provided e-mail is correct, reset password link will be delivered to the operator’s e-mail address.
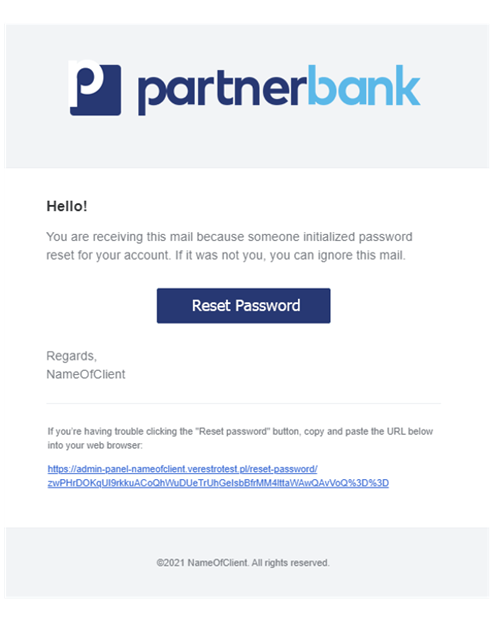
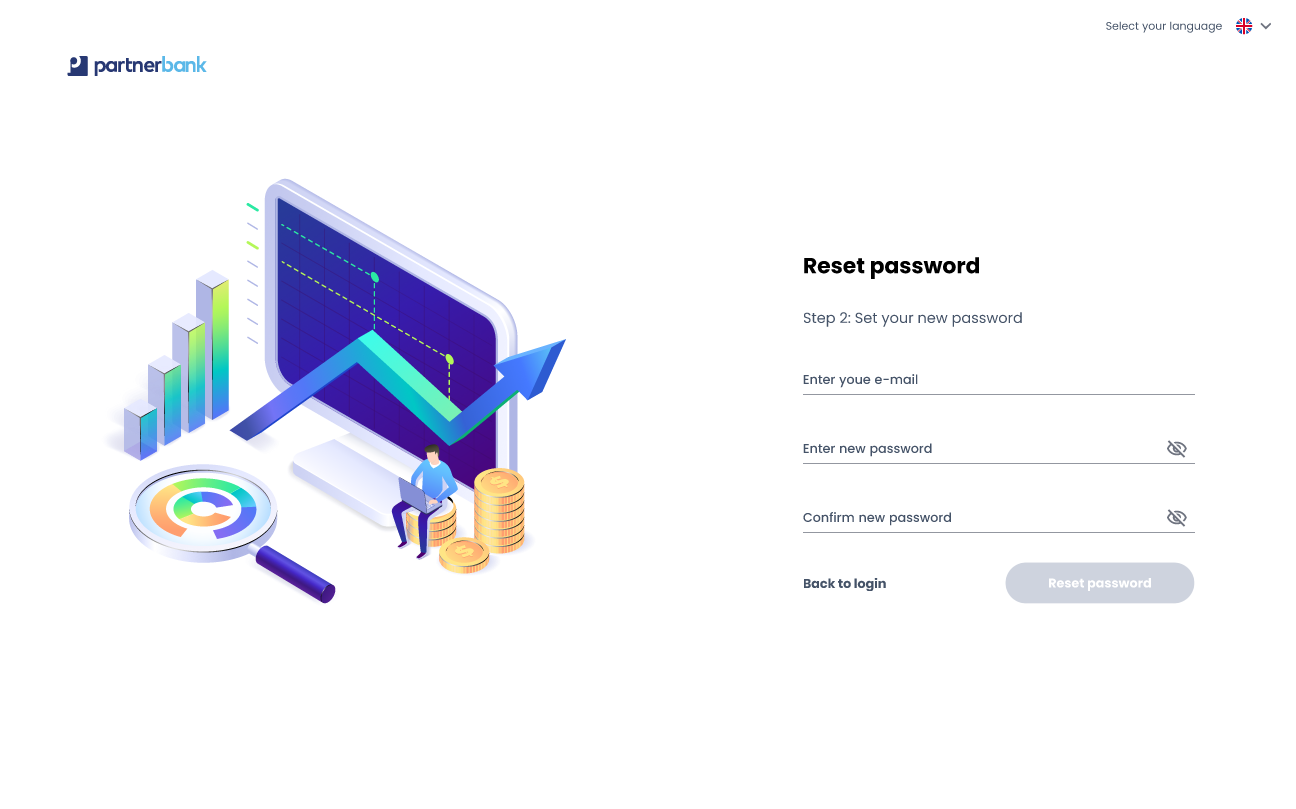
Clicking on the link redirects to the reset password page, where the operator will have to provide his e-mail address and set a new password. The required password standard is a minimum of 8 characters, at least one digit, one capital letter and one small letter.
Change password procedure
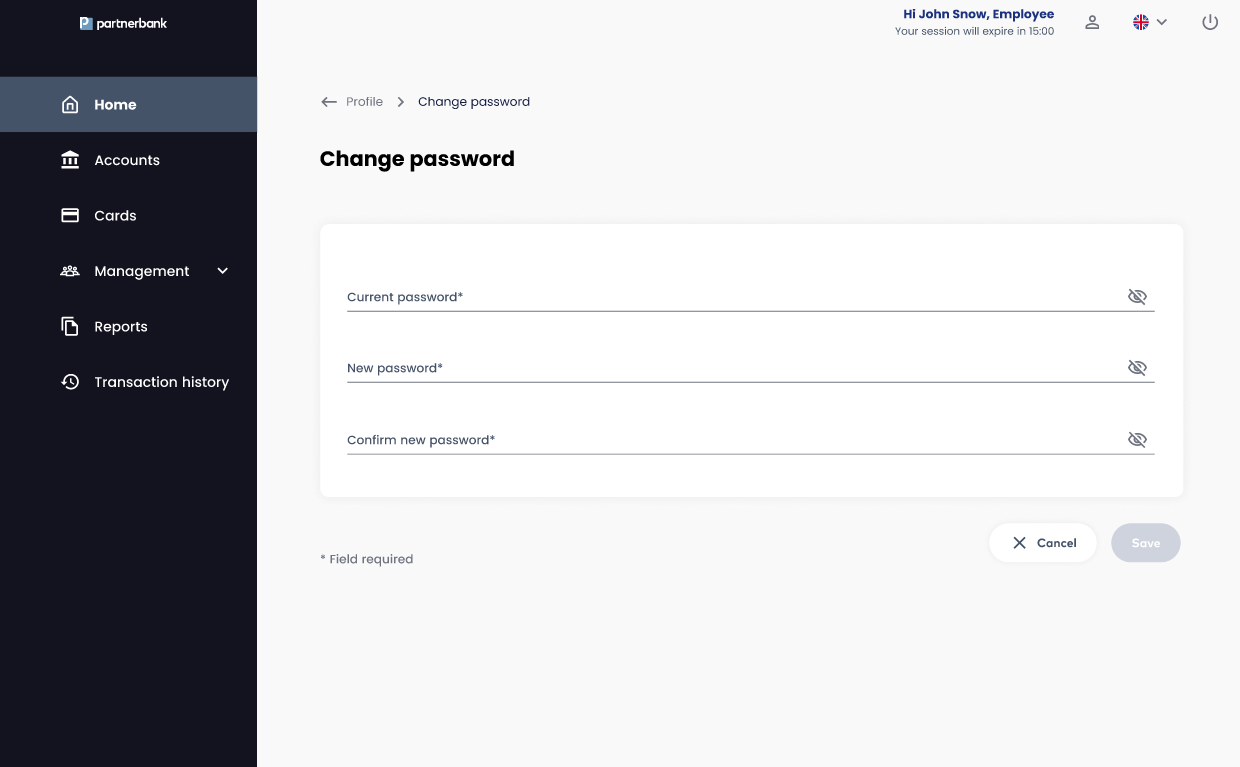
From the portal operator profile it is possible to change the password without using the password reset procedure.

The form itself consists of 3 fields: the current password required to confirm identity, a new password that meets the security criteria, and a repeat of the new password to confirm the correctness of the data entered.
Main view
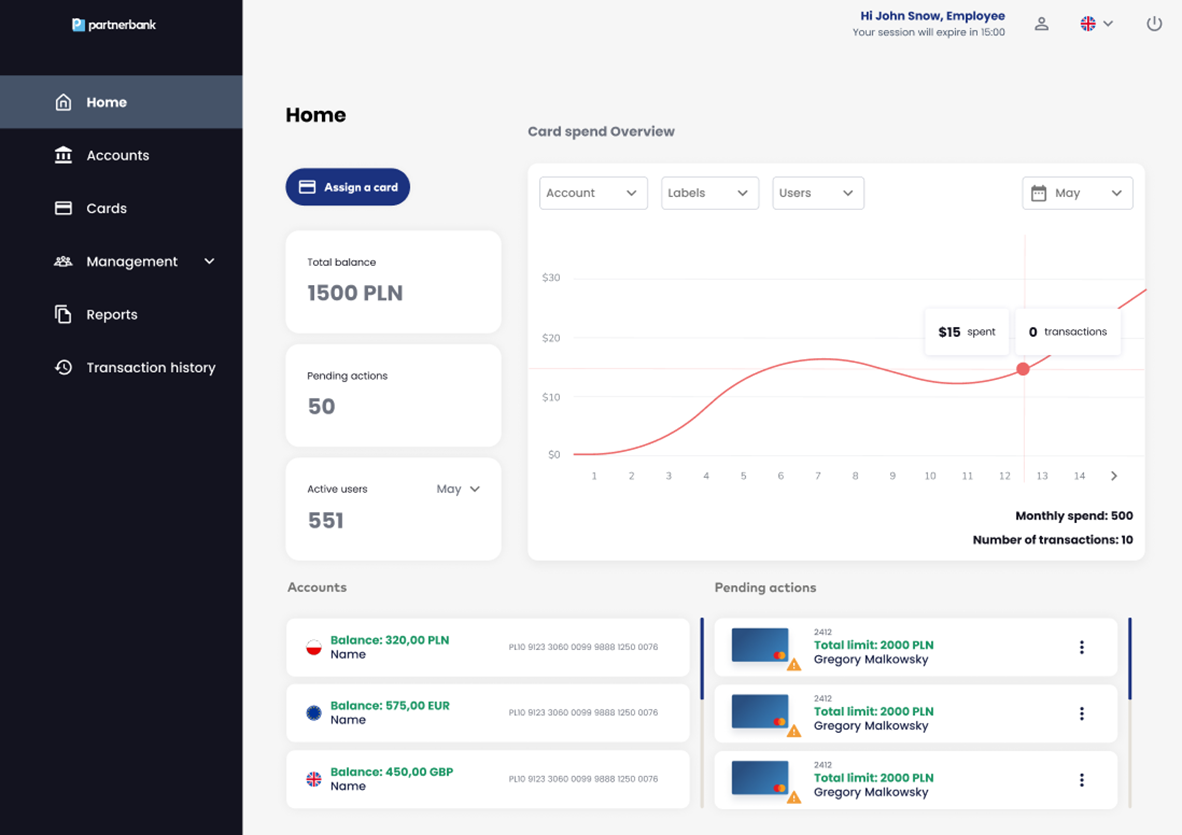
First view that is displayed after logging in is Home view. Operator can see basic information and charts.
Groups view
Once the authentication process is properly completed, the bank employee has access to the panel. He is shown the main screen of the system. Depending on the assigned rights group its appearance may vary. Different roles in the system have different tabs available.
The components that comprise the Business Control product operator portal are:
Sections
This section describes the functionality available to the Corporate Admin role, broken down by specific tabs on the portal.
Groups section
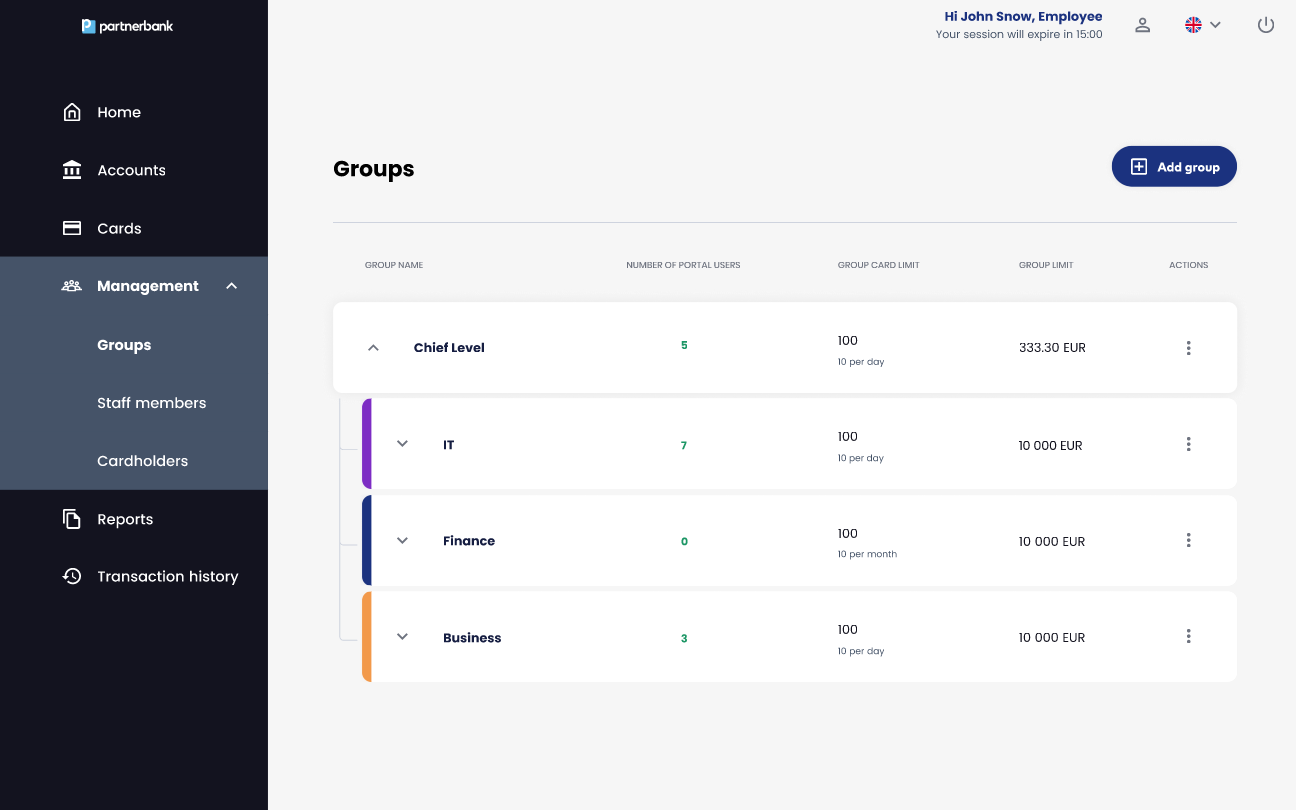
Appears after login as first screen shown to Corporate Admin. Contains tree view of all groups related to current Corporation.
UI Elements:
List includes following information:
|
Parameter |
Description |
|
Group name |
Custom and internal name of Corporation Unit assigned during process of adding Issuer. |
|
Number of portal users |
Number of staff members assigned to a specify group. The number of members in child groups does not add up to the number of members in the parent group. |
|
Card quantity limit |
Number of cards assigned to staff members in a specify group. |
|
Group limit |
This limit determines the maximum amount with which anyone in the group can assign a card to a user and the maximum amount on a card that can be accepted in a given group if an assignment confirmation request comes in from a group with a lower limit. |
Add group
This page appears after the user selected "Add group" button. The page contains a form for adding a new group in the hierarchy.
UI Elements:
- Field - Name (required),
- Drop-down-list – Pick a group,
- Button – Cancel,
- Button - Save.

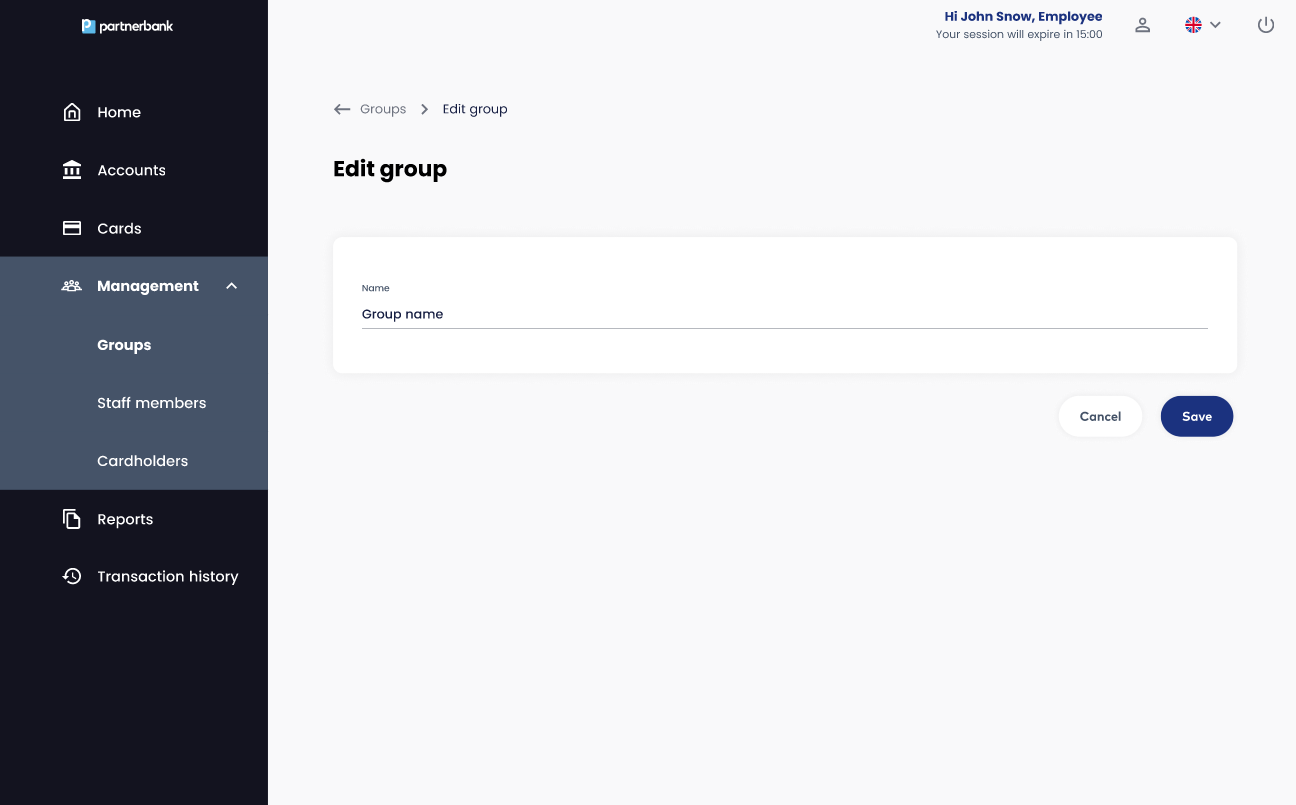
Edit group
The page contains a group edit form.
UI Elements:
- Field - Name (required),
- Button – Cancel,
- Button - Save.
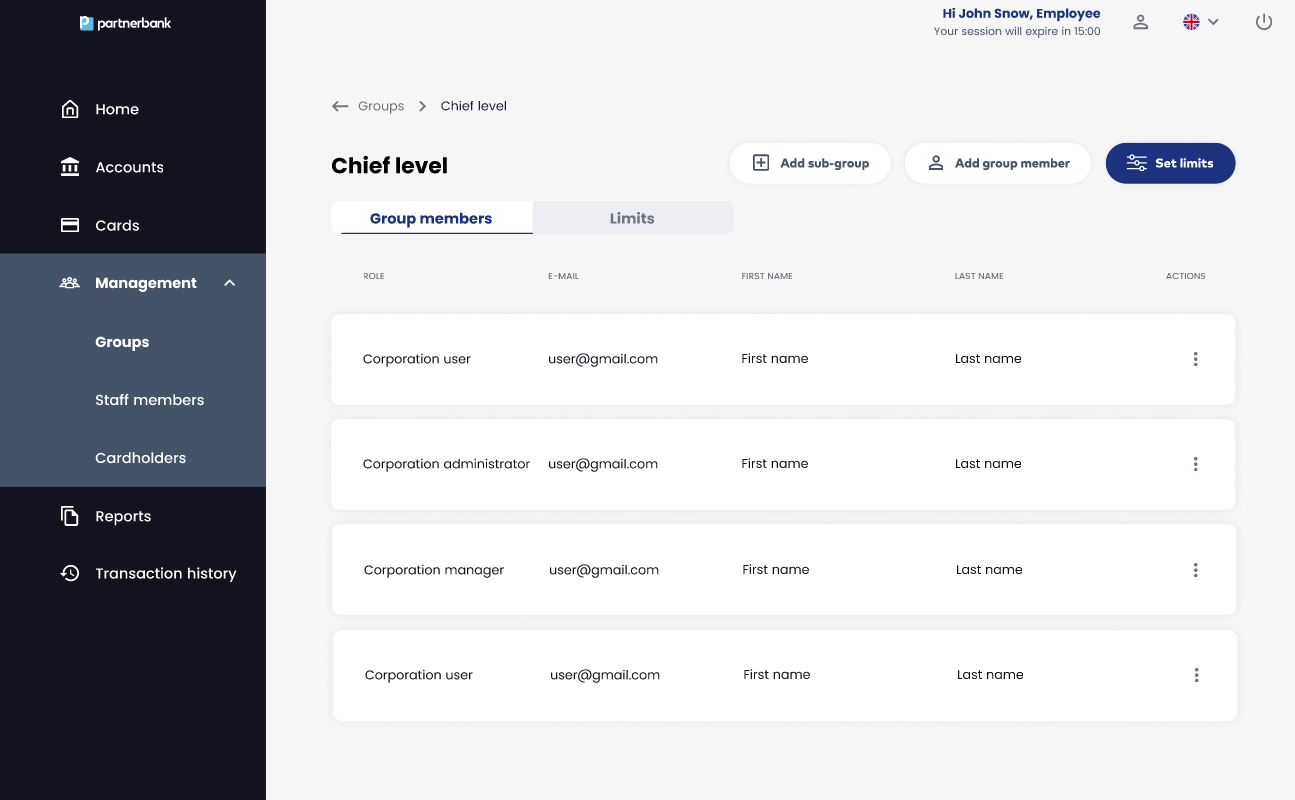
Group details
A page containing a list of members and limits related to selected group.
UI Elements:
List includes following information:
|
Parameter |
Description |
|
Role |
Role of administrator (Corporate Admin, Corporate Manager, Corporate User). |
|
|
Email address of Operator – login to the portal. |
|
First name |
First name of Operator. |
|
Last name |
Last name of Operator. |
Limits tab
This tab contains the available limits applied on the selected group (i.e. the associated account with the limit of money to spend).
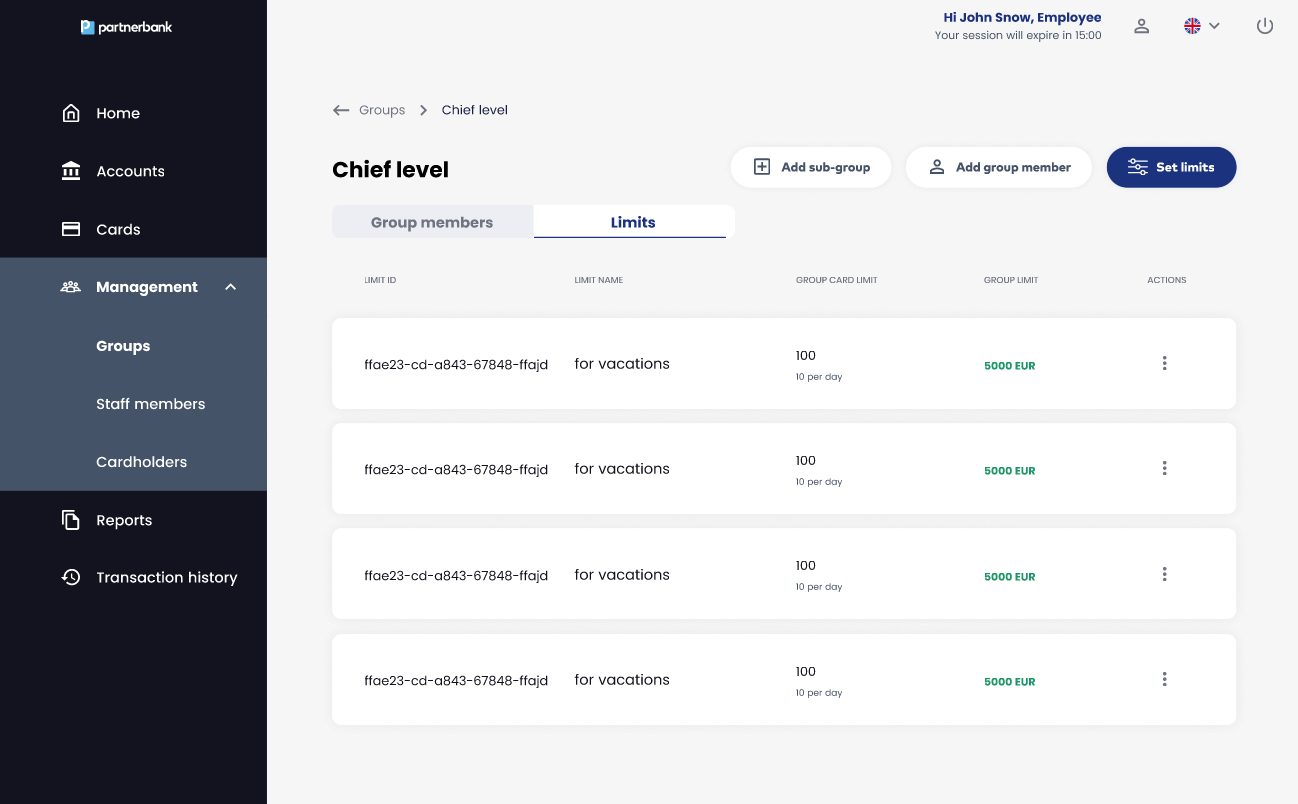
List includes following information:
|
Parameter |
Description |
|
Limit ID |
Internal identificatory of limit in the system. |
|
Limit name |
Name of a limit, e.g. for delegation. |
|
Group card limit |
Limit of a cards that can be assigned in a group. |
|
Group limit |
This limit determines the maximum amount with which anyone in the group can assign a card to a user and the maximum amount on a card that can be accepted in a given group if an assignment confirmation request comes in from a group with a lower limit. |
Actions:
- Add sub-group.
- Add group member.
- Set limit.
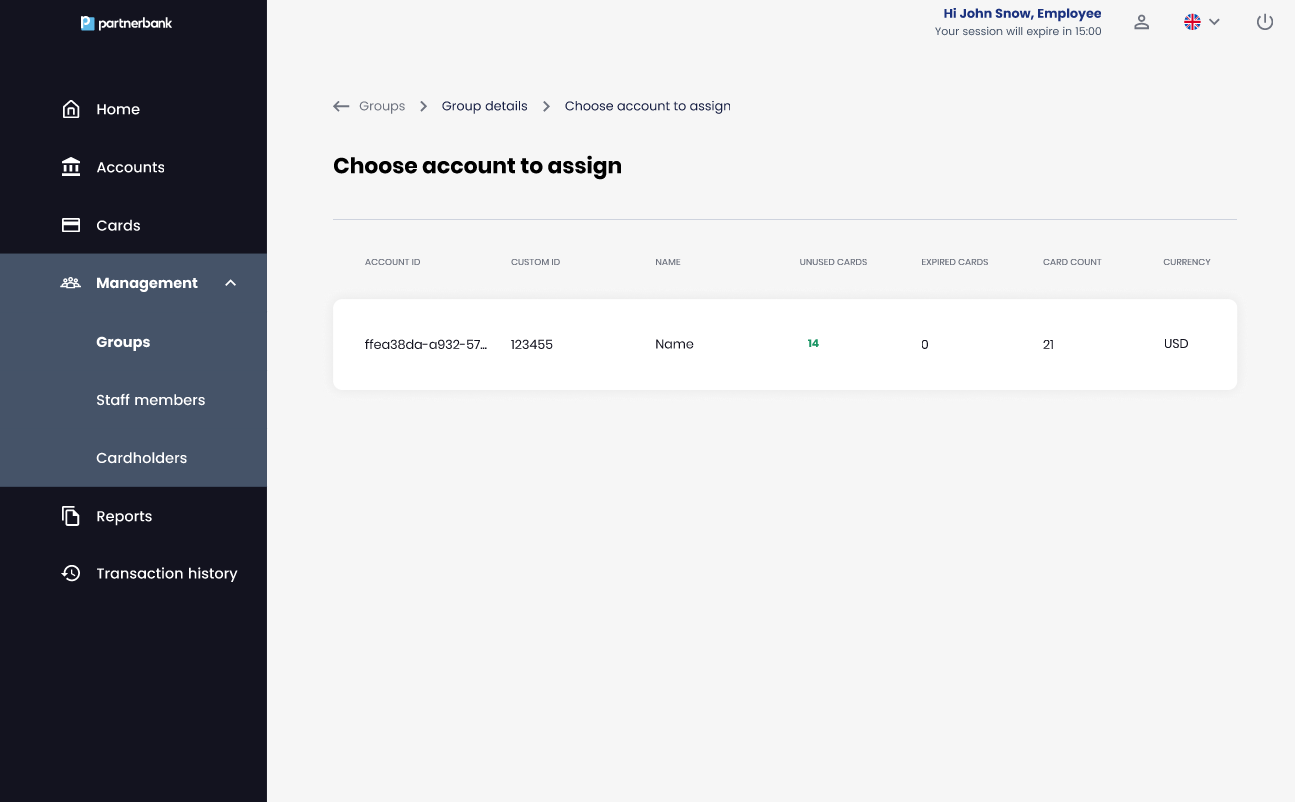
To set limit to the group it After user clicks “Set limits” action they see list of accounts to assign.
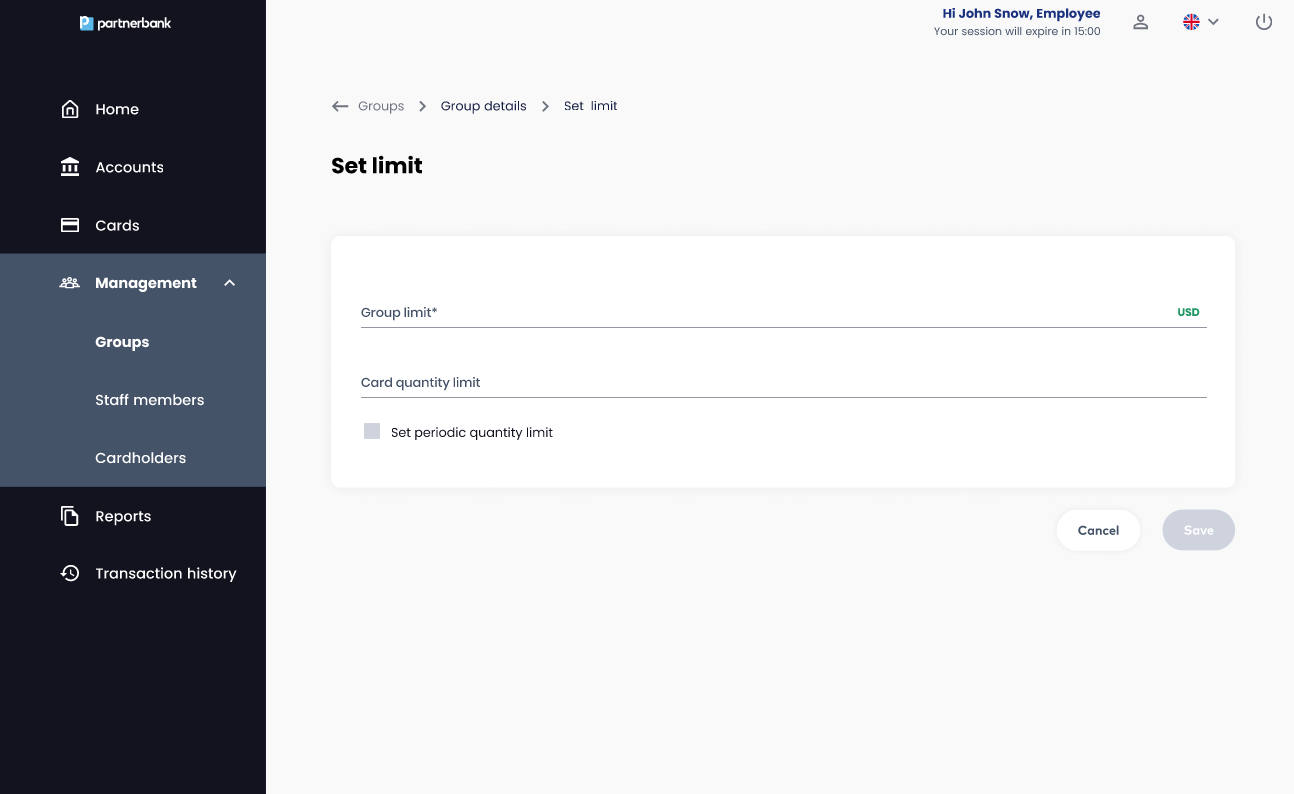
Setting limits
After clicking “Set limit” Operator chooses account he want to use for this group. Then they have to fill Set limit form with information:
- Group limit – amount in the same currency as account.
- Card quantity limit – number of cards that can be assigned in the same time by all group members.
- Set periodic quantity limit – number of cards that can be assigned daily, weekly or monthly.
Cards section
Awaiting cards tab
On this page there is a list of cards that require to take action: accept or reject. The card will be displayed on this list in consequence of one of actions:
- Cardholder request to increase their limit through the mobile application.
- Staff member from lower group assign card with higher limit than their group limit.
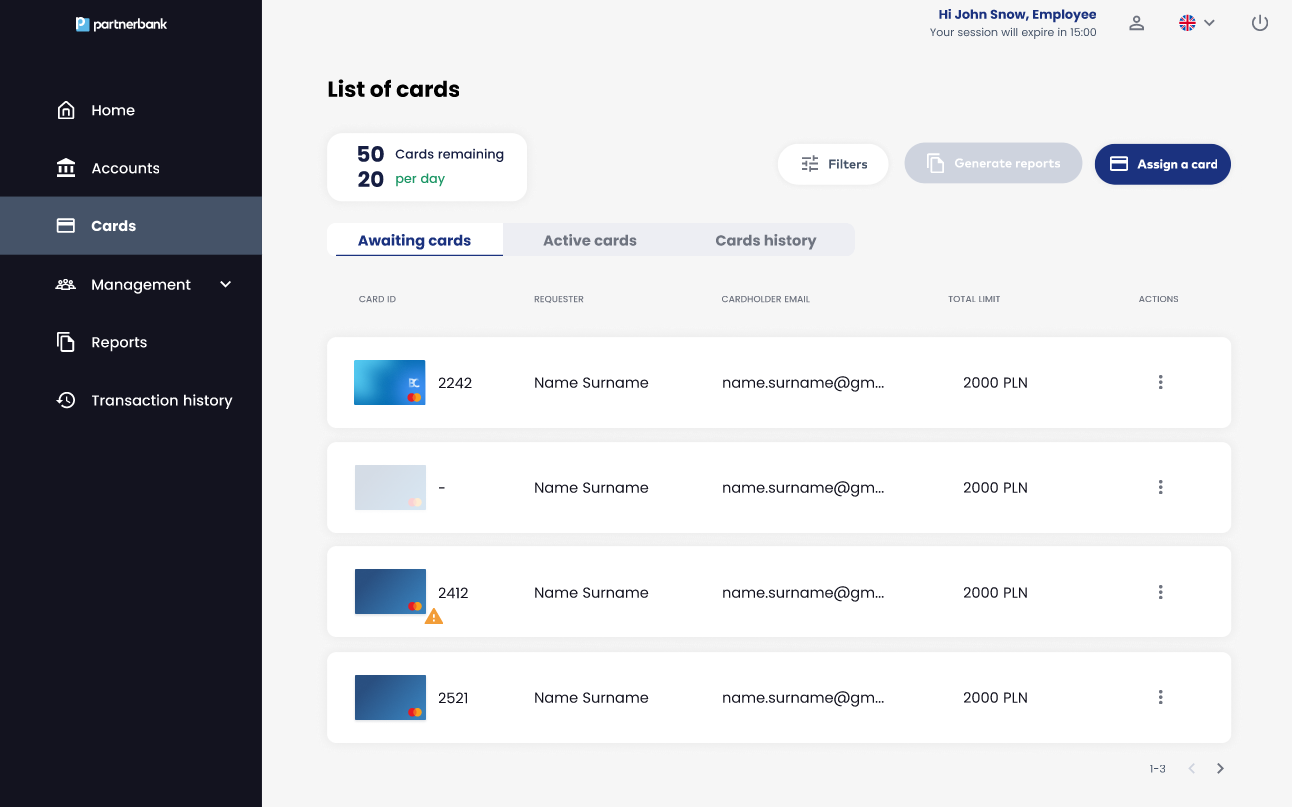
List includes following information:
|
Parameter |
Description |
|
Card ID |
Internal identificatory of a card in the system. |
|
Requester |
First name and last name of cardholder or operator who requested a card or a change of limit. |
|
Cardholder e-mail |
E-mail to which a message about assigning a new card arrives. |
|
Total limit |
This limit determines the maximum amount which a cardholder can spend using a card. |
When the card's validity start date is reached, an exclamation point icon is displayed next to the card's visual.
Active cards tab
On this page there is a list of cards that is currently active. The card will be displayed on this list in consequence of one of actions:
- The card assignment period has started, the card has been generated and the end user has activated the card within the app.
- The card assignment period has started, the card has been generated but the end user has not activated it yet (greyed out card).

List includes following information:
|
Parameter |
Description |
|
Card ID |
Internal identificator of a card in the system. |
|
Cardholder e-mail |
E-mail to which a message about assigning a new card arrives. |
|
Limit |
This limit determines the maximum amount which a cardholder can spend using a card. |
|
Current spend |
This value shows the relationship between the money spent and the limit on the card. |
Cards history tab
On this page there is a list of all assignments of cards in the system. The list includes every card assignment, even cancelled, rejected or finished ones.
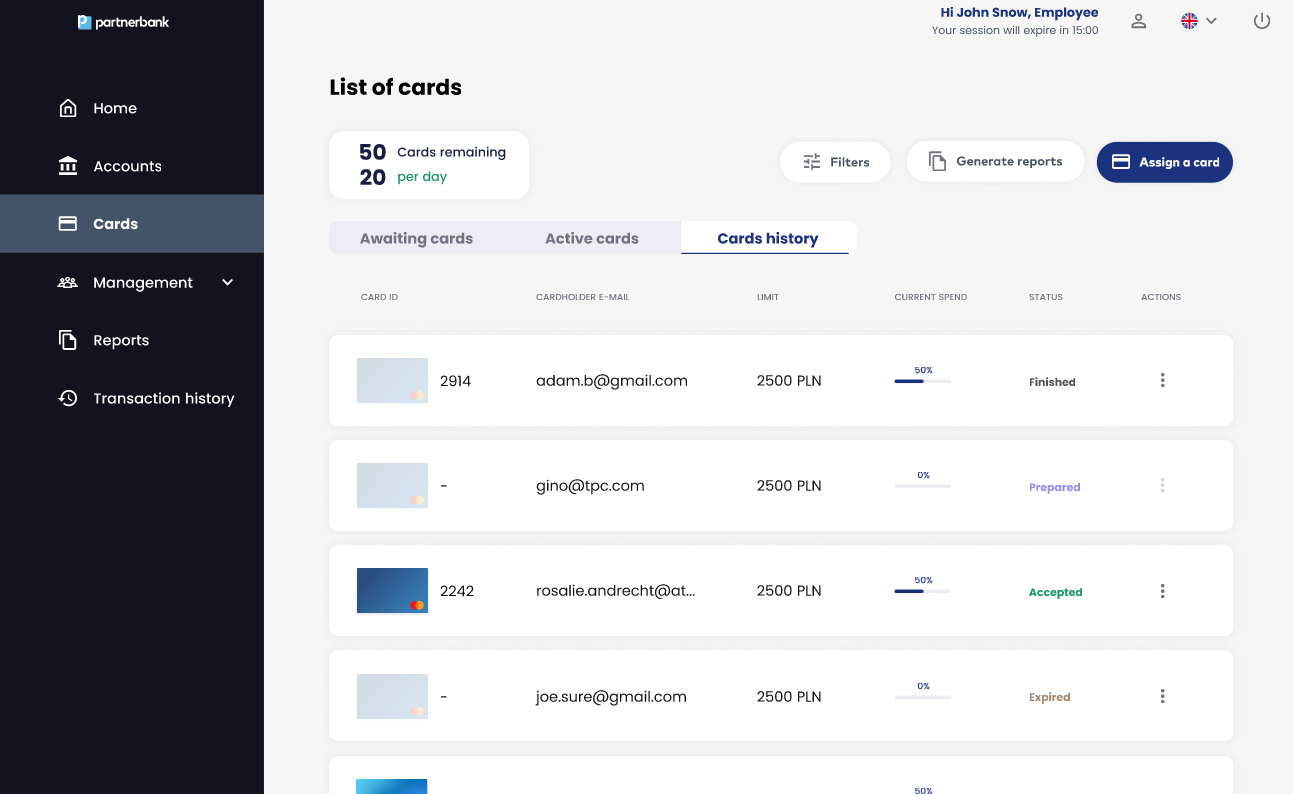
List includes following information:
|
Parameter |
Description |
|
Card ID |
Internal identificatory of a card in the system. |
|
Cardholder e-mail |
E-mail to which a message about assigning a new card arrives. |
|
Limit |
This limit determines the maximum amount which a cardholder can spend using a card. |
|
Current spend |
This value shows the relationship between the money spent and the limit on the card. |
|
Status |
Approval status of a card. |
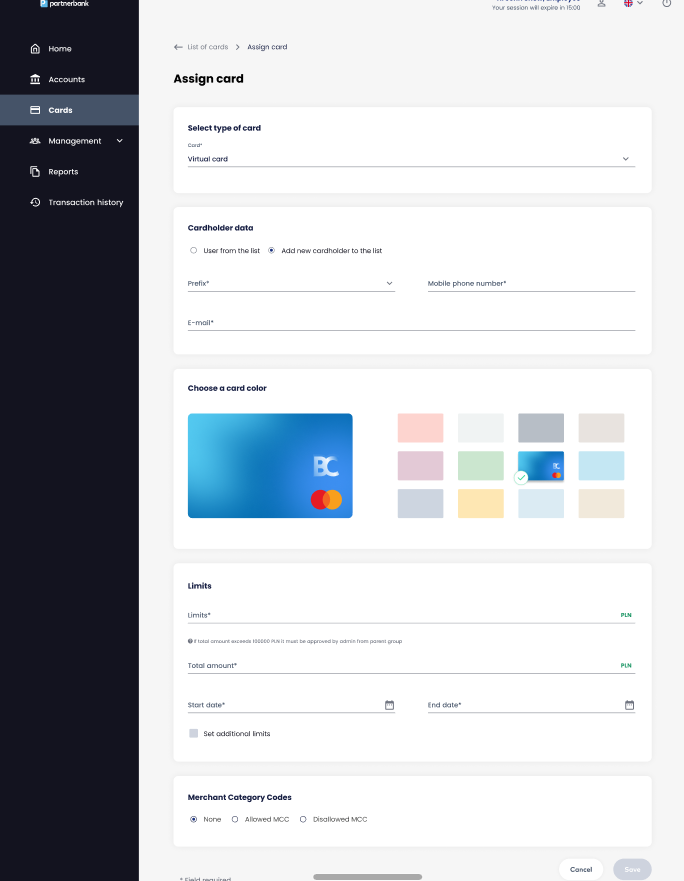
Card assignment
Clicking on the “Assign card” button takes Operator to Assign card form view. The card assignment form is the most important screen in the system. It allows to enter the data for which a card will be generated and assigned. Currently, only the option to create virtual cards is available.
The form consist of sections:
- Select type of card (virtual or physical).
- Cardholder data - Operator chooses the cardholder for whom the card should be assigned (from the predefined list or using a form). If we choose a cardholder from a predefined list, an assigned card will be displayed in the app right after clicking "Save" on the form. If we choose the "Add new cardholder to the list" option then the cardholder needs to redeem the card on their own by providing codes from e-mail and SMS.
- Card visual - Operator can change the default visual for a card visible in cardholder mobile application. Corporation or Issuer can provide their own visuals so they can be also visible in this section.
- Limits – Defining the account in specific currency related to the card, total amount as available limit for expenses and card assignment period along with timezone.
- Merchant Category Codes allows to define merchant codes for which the card will work or codes that will define a declined transaction.
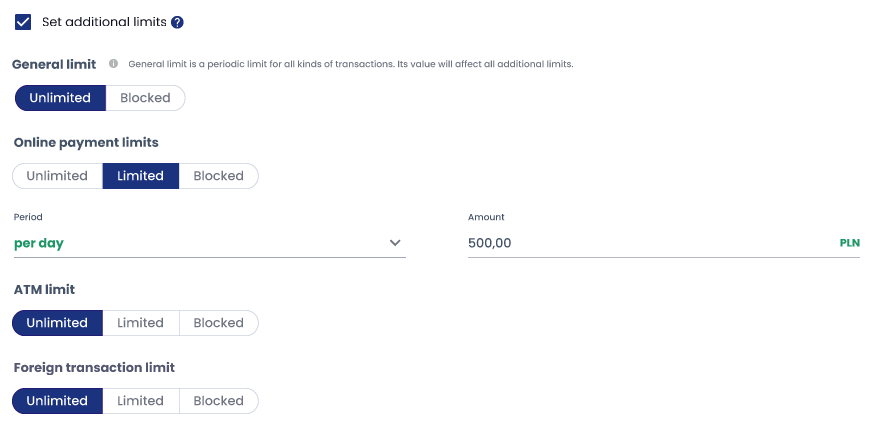
If user marks "Set additional limits" another four fields appear. All of them are in entry value "Unlimited". This means that all kind of transaction are available for this card. If operator chooses "Limited" they need to provide limited amount and period (per day, per week or per month). Periodic value can't be greater than total amount. If operator chooses "Blocked" then chosen type of transactions will be disallowed.
There are four types of additional limits:
1. General limit - periodic limit on all kinds of transactions. This value should be greater than remaining additional limits because it affects them.
2. Online payment limit - periodic limit on e-commerce payments.
3. ATM limit - periodic limit on ATM withdrawals.
4. Foreign transaction limit - periodic limit on transactions in a different currency from account currency.
Card details
After clicking on single row on Awaiting cards, Active cards or Cards history list Operator is directed to Card details screen. On this view there are sections:
- Basic data: Card visual, Last 4 digits, CVC, Expiry date, card ID, Account, Requester name, Cardholder e-mail, Cardholder phone number, Balance, Issue date, Current spend, Status.
- Use of the card – allowed way of paying by the card (available options: push provisioning and e-commerce payments).
- Limit details: Total limit, Start date, End date, Period, Periodic amount.
- History of transactions with filters – table with the same columns as on Transaction history view.

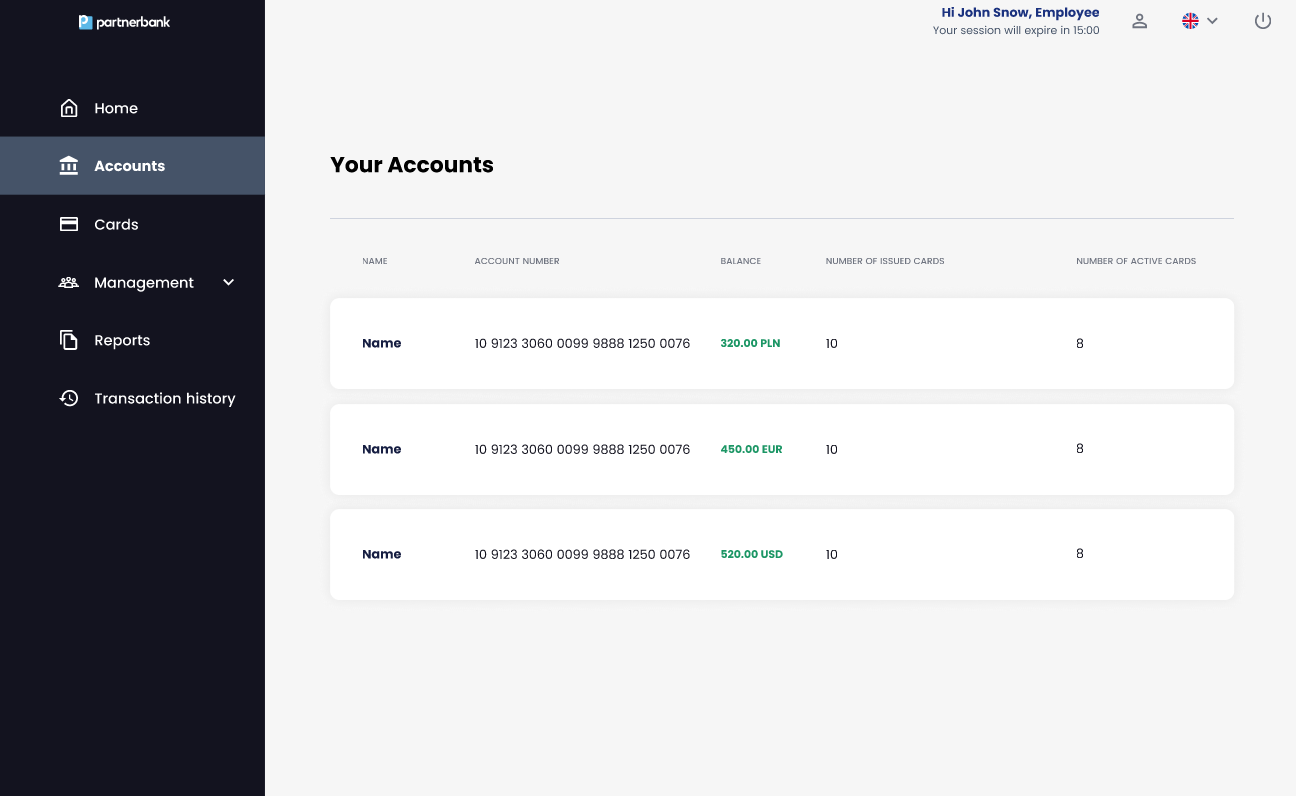
Accounts section
On this view the list of accounts which have been assigned to a corporation is displayed. The example shown contains 3 available accounts for a corporation. Each account can have only 1 currency, which is the currency of the cards generated under that account.
List includes following information:
|
Parameter |
Description |
|
Name |
Name of account. |
|
Account number |
24 digits number of account. |
|
Balance |
Current amount on the account with currency. |
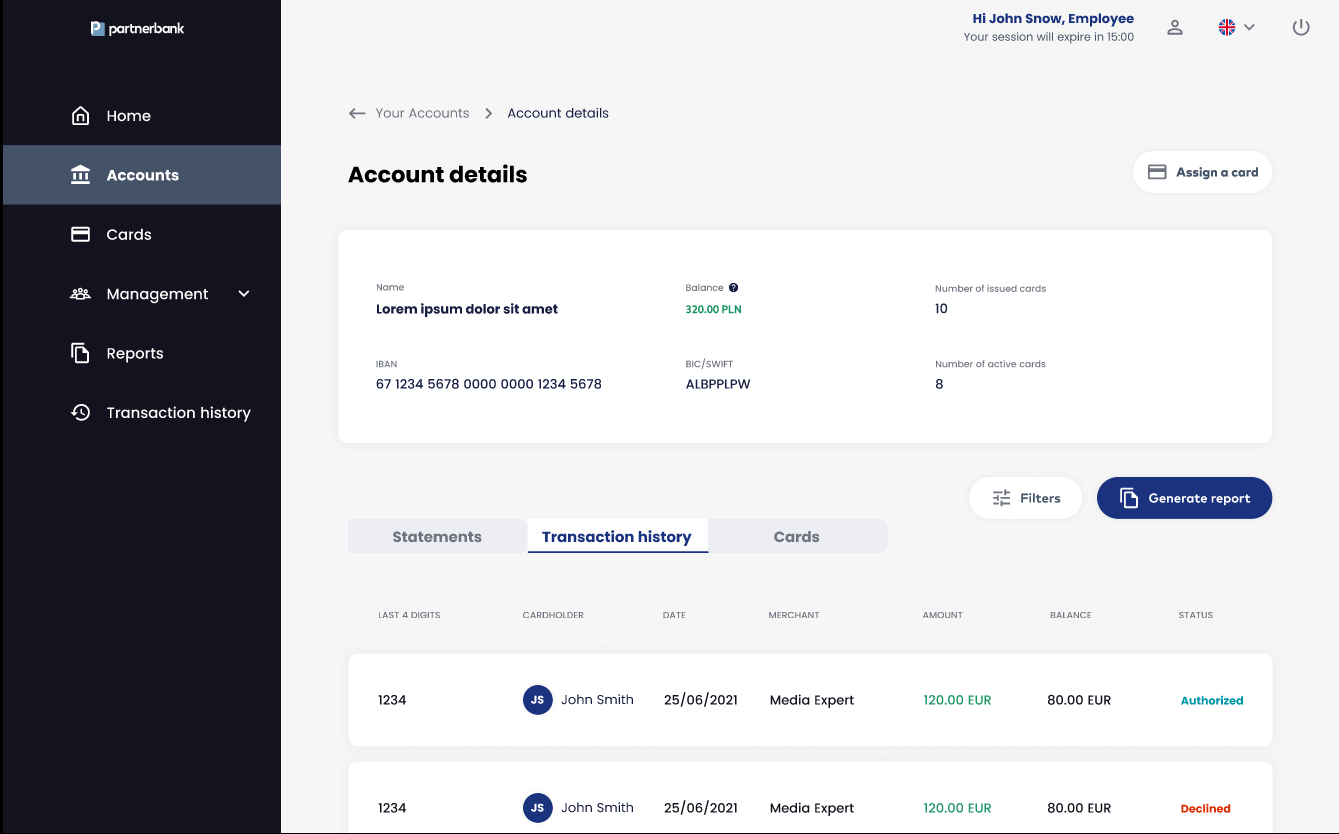
6.3.1 Account details
On this view detailed information of account are displayed.
Below there is a list of:
- Statements for this account:
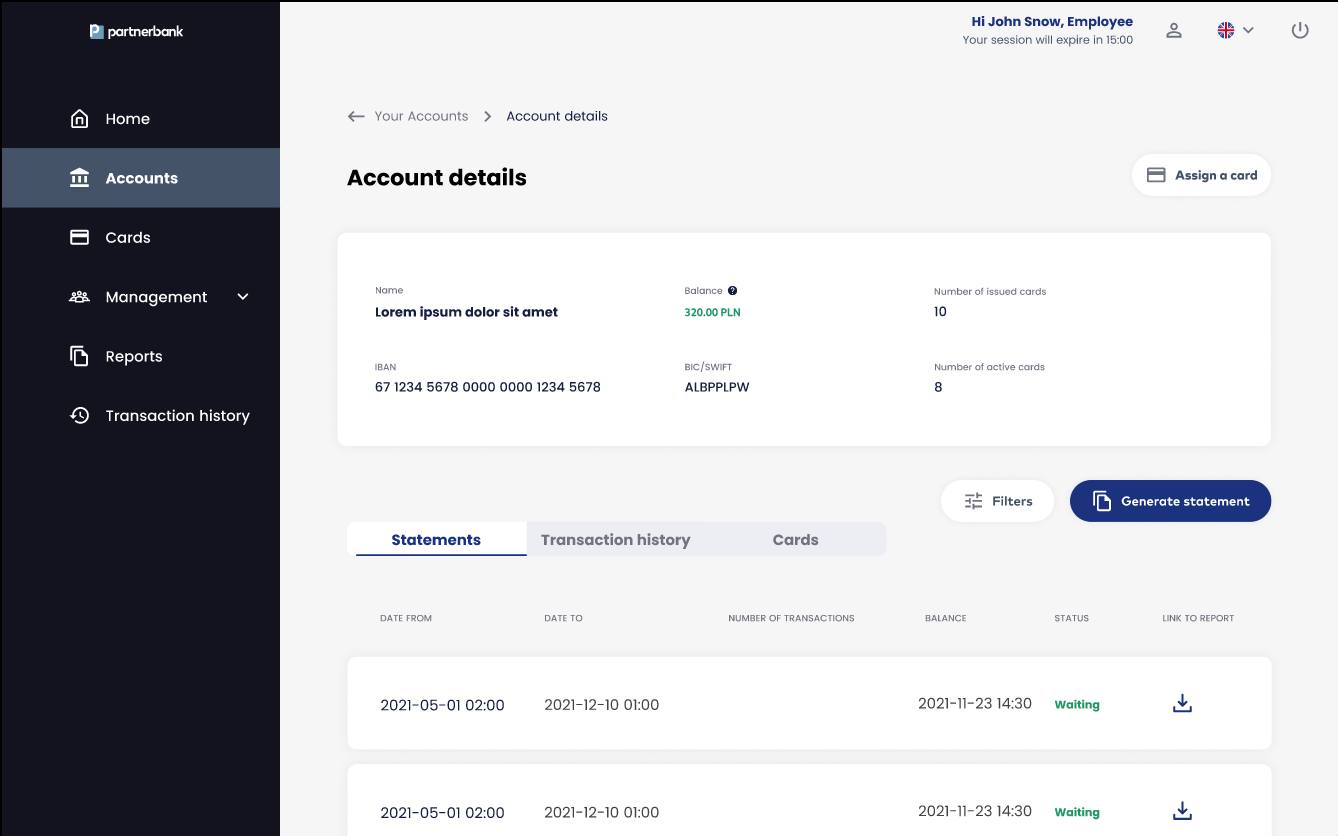
- Transactions made by cards related to the selected account;
UI elements:
6.4 Staff members section
On this view the list of Corporate Panel Operators is displayed.
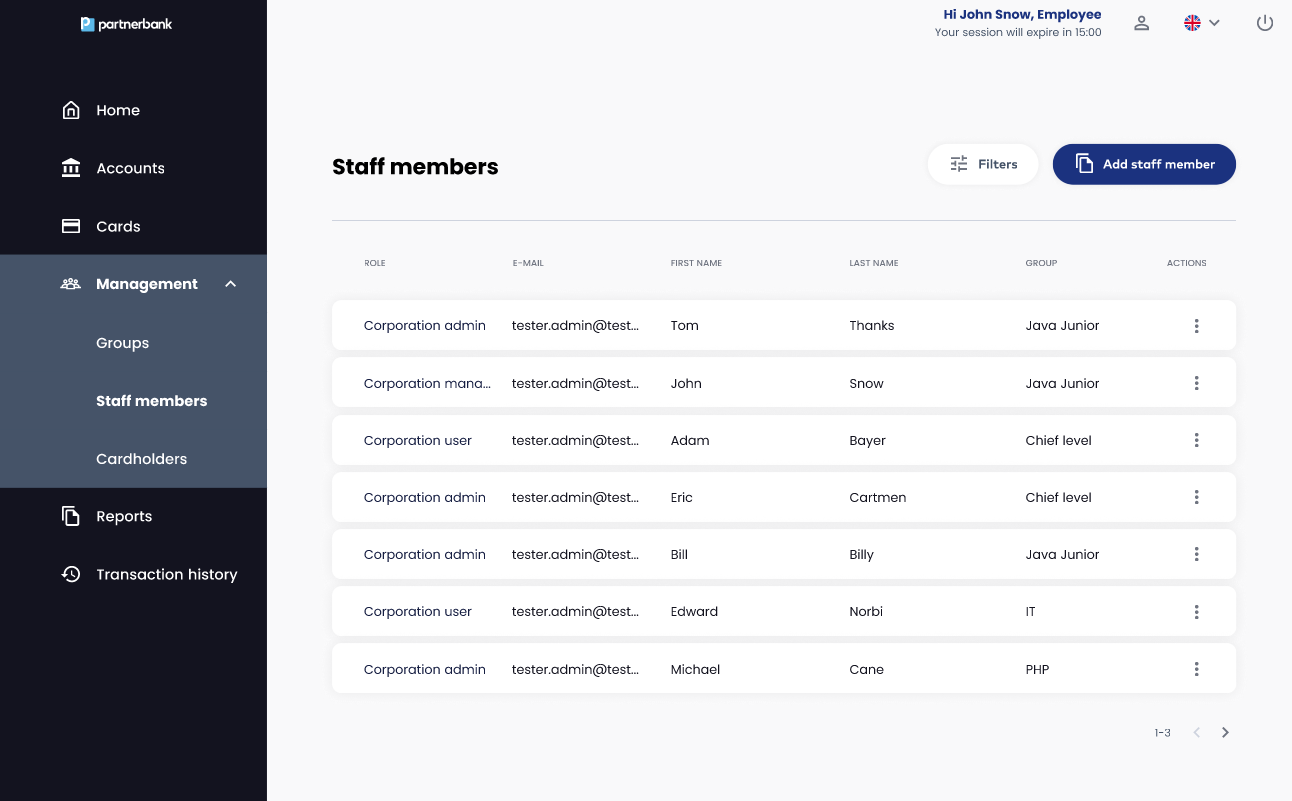
UI elements:
List includes following information:.
|
Parameter |
Description |
|
Role |
Role of a Operator (Corporate administrator, Corporate manager, Corporate user). |
|
|
E-mail that Operator use to login to Corporate Panel. |
|
First name |
First name of Operator. |
|
Last name |
Last name of Operator. |
|
Group |
Group to which Operator belongs. |
6.4.1. Add staff member form
Clicking on the “Add staff member” button takes Operator to Add staff member form view. The form consist of fields:
- First name (required),
- Last name (required),
- E-mail (required),
- Role (required) – select from drop-down list: Corporation administrator, Corporation manager, Corporation user,
- Group (required) – select from drop-down list of group tree.
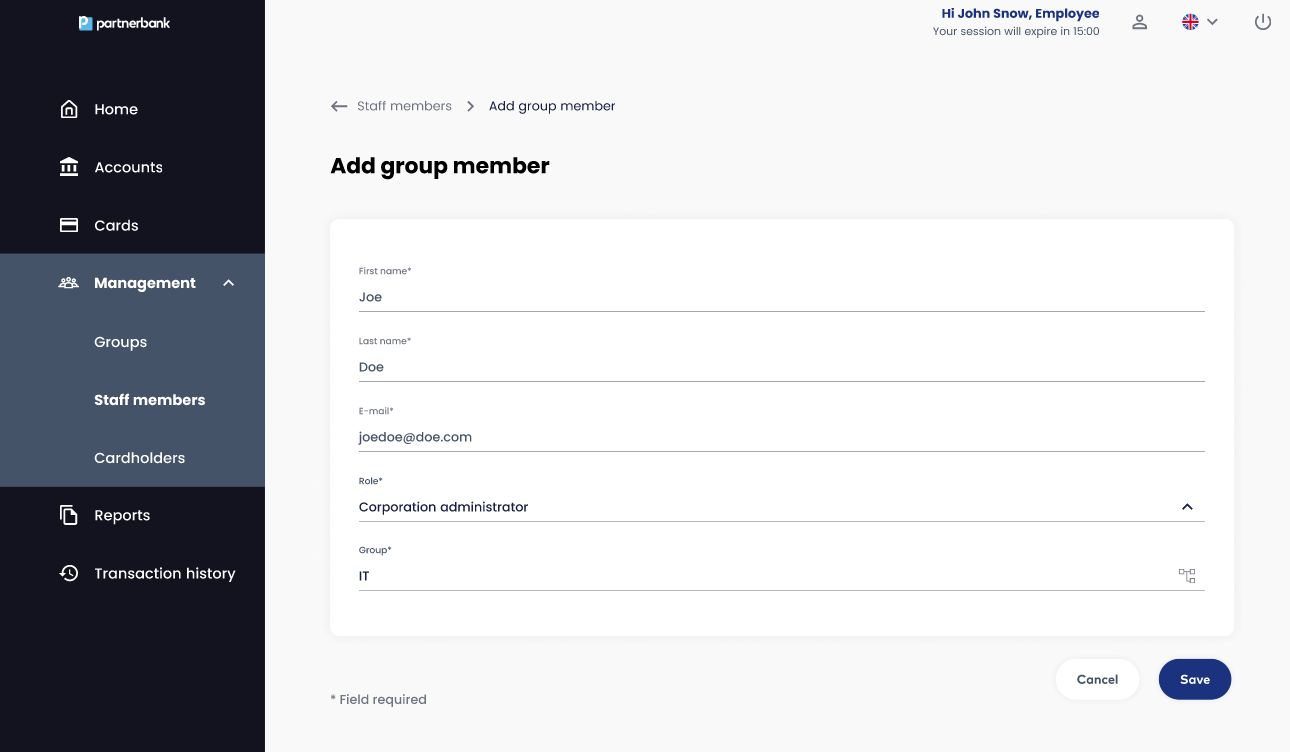
After clicking “Save” button the invitation e-mail is sent to the invited person.
6.5. Cardholders section
On this view there is a list of people who redeemed at least one card. This functionality was created to be able to check what transactions have been made by exact cardholder and cards that are assigned to them.
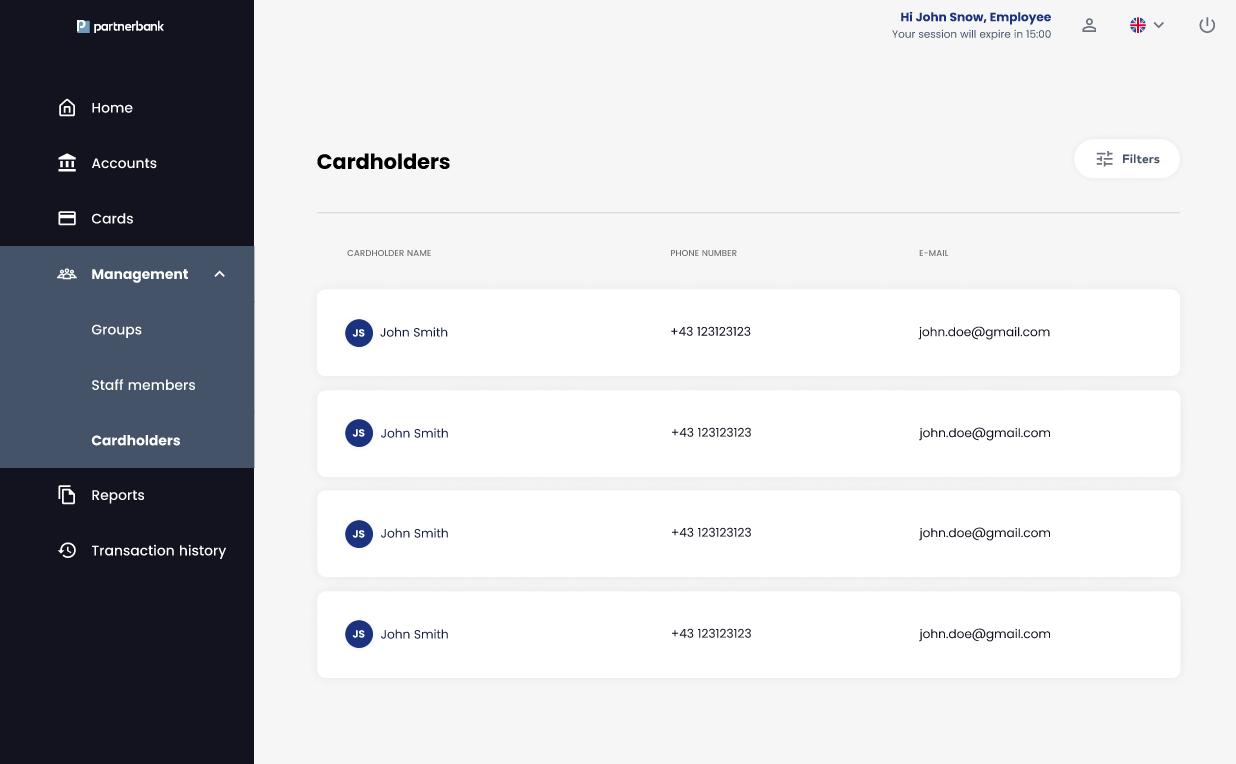
List includes following information:
|
Parameter |
Description |
|
First name |
First name of Cardholder (end-user). |
|
Last name |
Last name of Cardholder (end-user). |
|
Phone number |
Phone number of Cardholder (end-user). |
|
|
E-mail that Cardholder use to login to mobile application. |
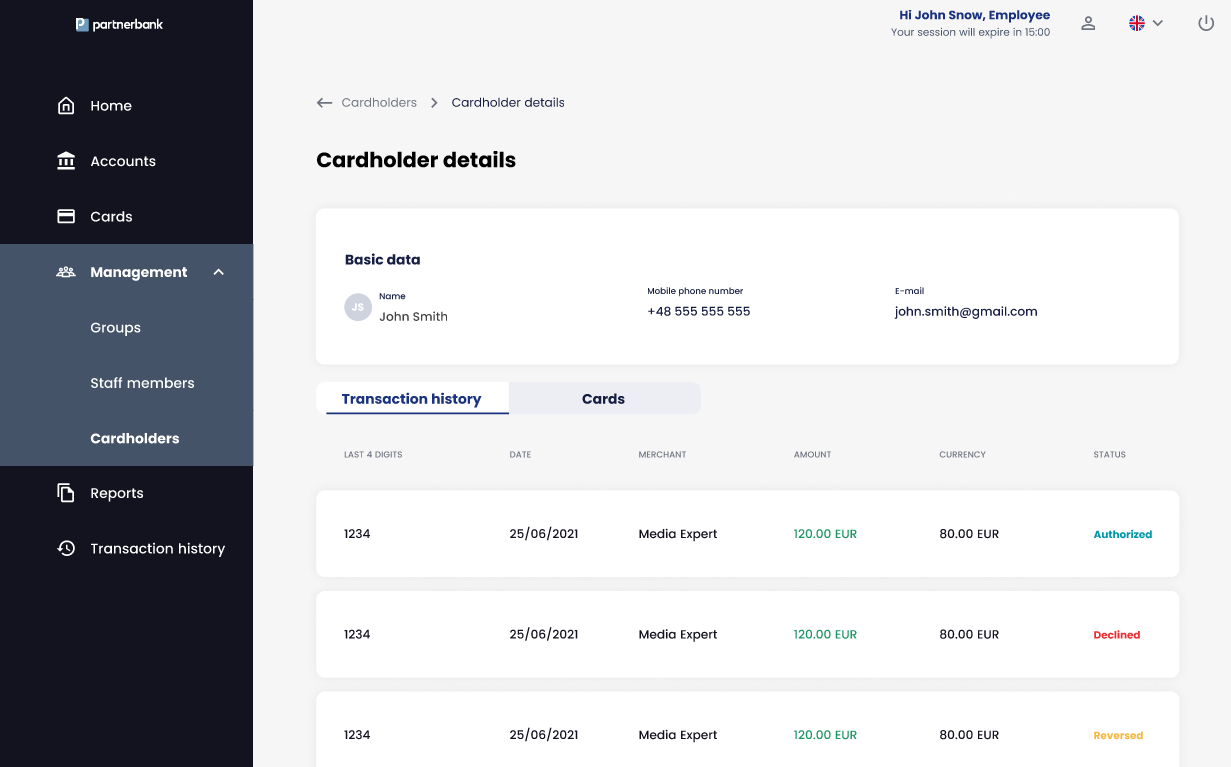
6.5.1 Cardholder details
On cardholder details view information about enduser are displayed. Section “Basic data” contains information from Add new cardholder form:
- First name,
- Last name,
- Phone number,
- E-mail.
Below there is a list with two tabs:
- Transaction history – list of transactions made by that cardholder (enduser) using all their cards,
- Cards – list of cards assigned to that cardholder (enduser).
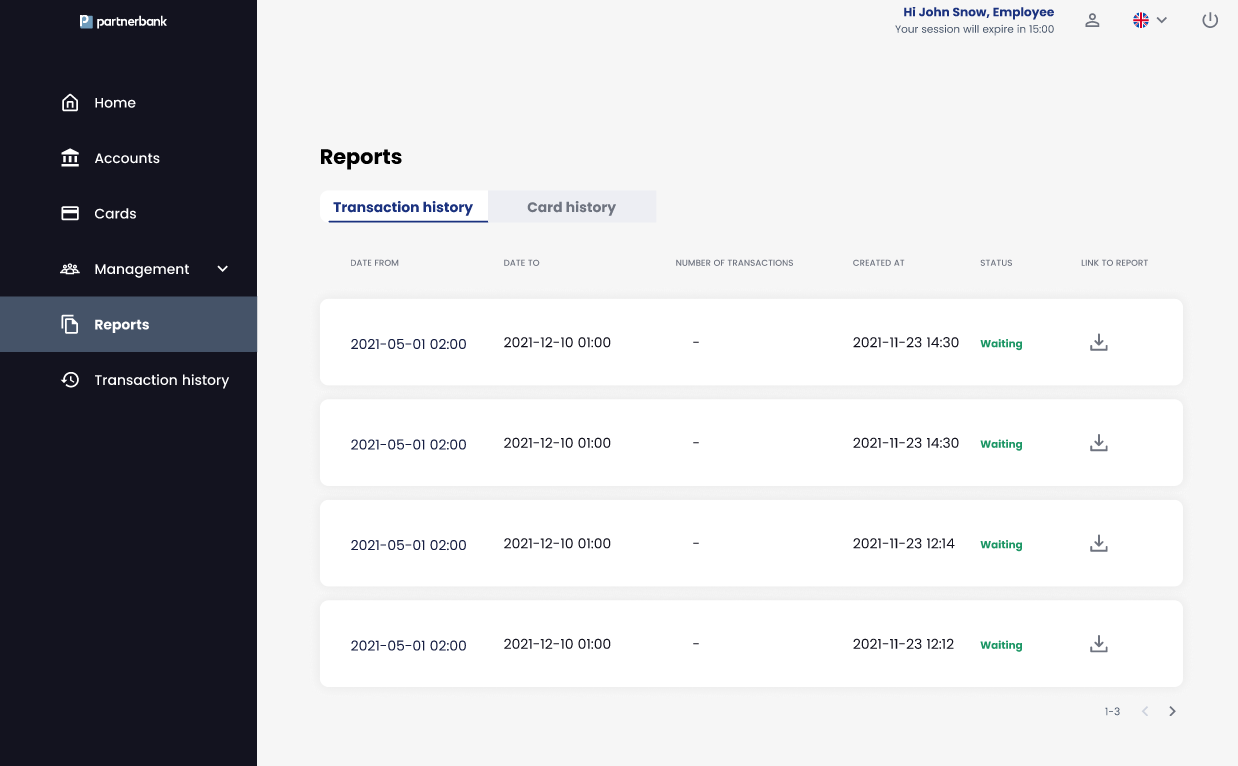
6.6 Reports section
Reports section contains files generated in the Corporate Panel and files added by Operators. File can be downloaded by clicking Download icon in every row. There are three tabs:
- Transaction history – a list of zip files that contain folders with .csv file with list of transactions and pictures of receipts added in mobile application,
- Card history – a list of csv files that contain reports from Card history view.
6.7. Transaction history section
This section contains list of transactions made by endusers.
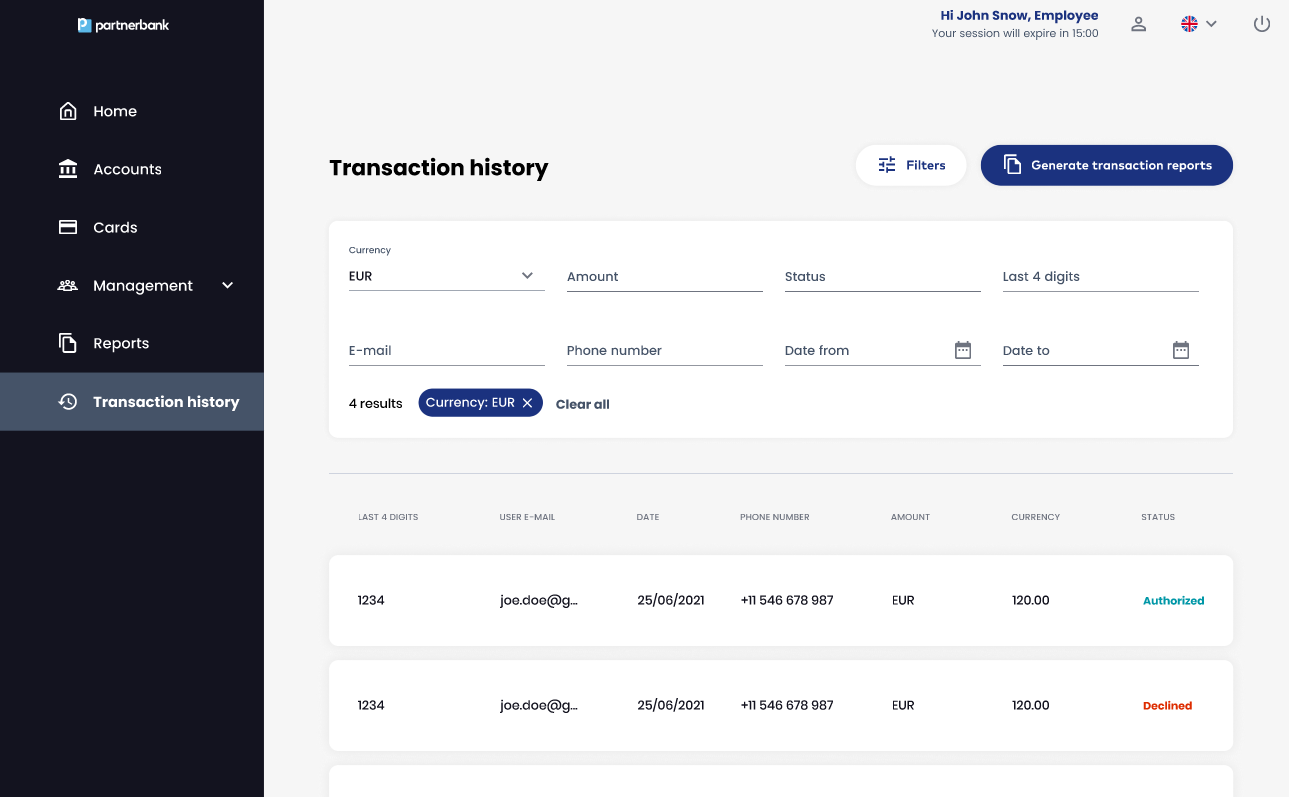
UI elements:
- Every row – to move to detailed view of a transaction,
- Button - Generate transaction history report.
List includes following information:
|
Parameter |
Description |
|
Last 4 digits |
Last 4 digits of a card. |
|
User e-mail |
E-mail of cardholder (enduser). |
|
Date |
Date of transactions. |
|
Phone number |
Phone number of cardholder (enduser). |
|
Amount |
Transaction amount with currency. |
|
Status |
Status of transaction. |
6.7.1 Transaction details
The transaction details section contains a set of information about a specific transaction such as:
|
Parameter |
Description |
|
Transaction ID |
Internal identifier of the transaction (Verestro ID). |
|
Token ID |
Token identifier used during the transaction. |
|
Card ID |
Card identifier. |
|
Created at |
Date of transactions. |
|
Phone number |
Phone number of cardholder (enduser). |
|
Amount |
Transaction amount with currency. |
|
Currency |
Currency od the transaction. |
|
Status |
Status of transaction. |
|
ExternalID |
External identifier of the transaction. |
|
Transaction channel |
Defines the channel used to perform transaction. |
|
Merchant name |
Name of merchant receiving the payment. |
|
Type |
Type of the transaction. |
|
Customer ID |
Internal identifier of the cardholder (enduser). |
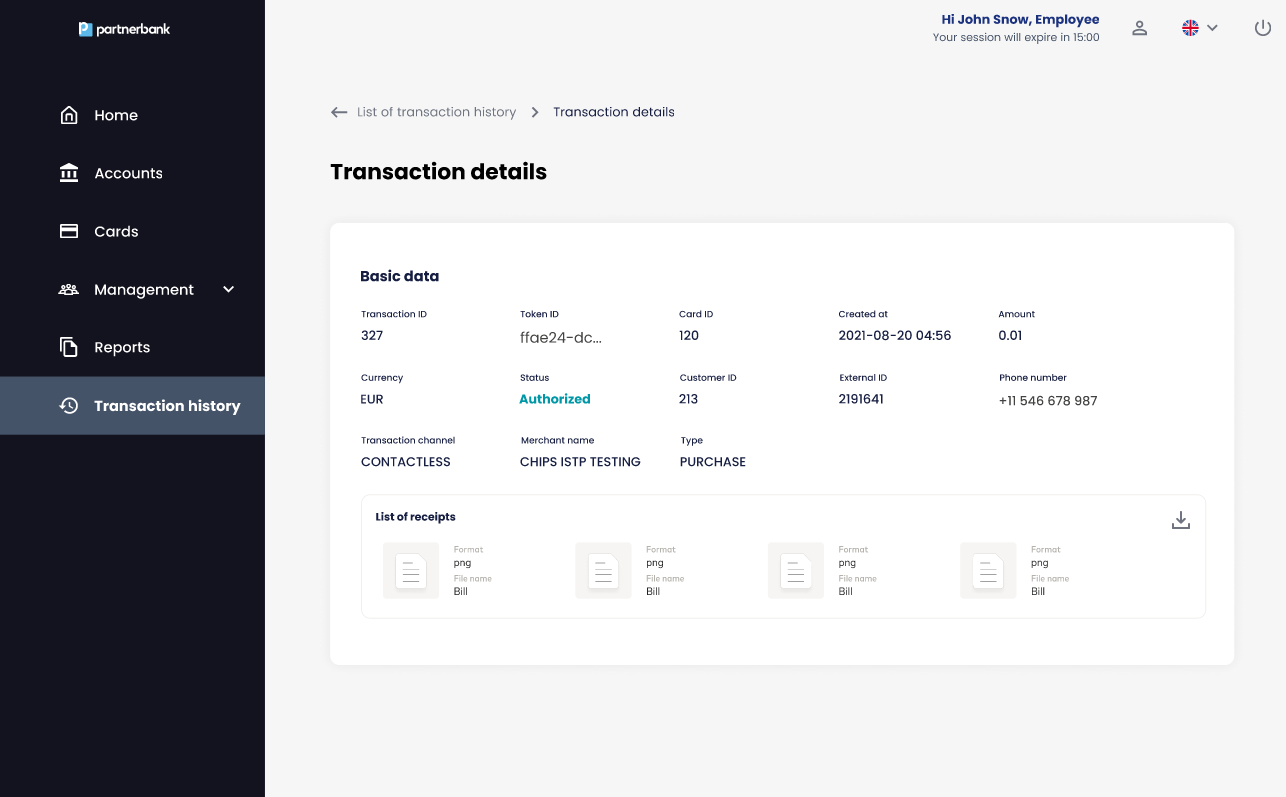
In list of receipts section there are pictures that end-user upload in mobile application.